Crokinole Board!
in
It was a day like any other when a colleague and avid tabletop gamer asked, “Have you ever thought about making a Crokinole board?” I suspect he had recently seen the Shut Up & Sit Down Review of Crokinole earlier this year and the magnificent board they played on. Then, on Thanksgiving holiday, I had the epiphany that this was the game on the back side of the Carrom boards that have been around my family for at least two generations! So, of course, I had to build one.

There were two guiding lights (sites) in my build, Woodgears.ca and Hilinski. Those two sites combined with a lot of outside research to make sure I had all the dimensions correct, some of which are surprisingly difficult to find! The overall dimensions are found in a number of places:
- Overall playing surface diameter: 26” (13” / ~330mm radius)
- Outer circle diameter: 24” (12” / ~305mm radius)
- Middle circle diameter: 16” (8” / ~203mm radius)
- Inner circle diameter: 8” (4” / ~102mm radius)
- Ditch: 2” (~51mm) minimum
That’s about where most sites leave off, neglecting some relevant dimensions which Mayday Games Kickstarter fortunately provided:
- 20 hole diameter: 1 3/8” (35mm)
- 20 hole depth: 1/4” (6mm)
- Dividing circle lines: 1/16” (1.5mm) to 1/8” (3mm)
- Discs: 1 1/4” x 3/8” diameter (32mm x 10mm) Standard Crokinole discs
- Rim: 1 1/2” (1/2”/12mm taller than the playing surface)
- Playing surface: 1/2” thickness on most boards.
The pegs were a real dilemma. I could find no solid information on their size. Descriptions ranged from “doesn’t matter” to “Posts (pegs) are brass tubing recessed 1/4″ deep into surface and secured with brass screw to ensure straight alignment and durability.” which gives absolutely no information about what size they are. In my first build, I settled on 3/8” diameter and 1/2” tall.
Building the Board
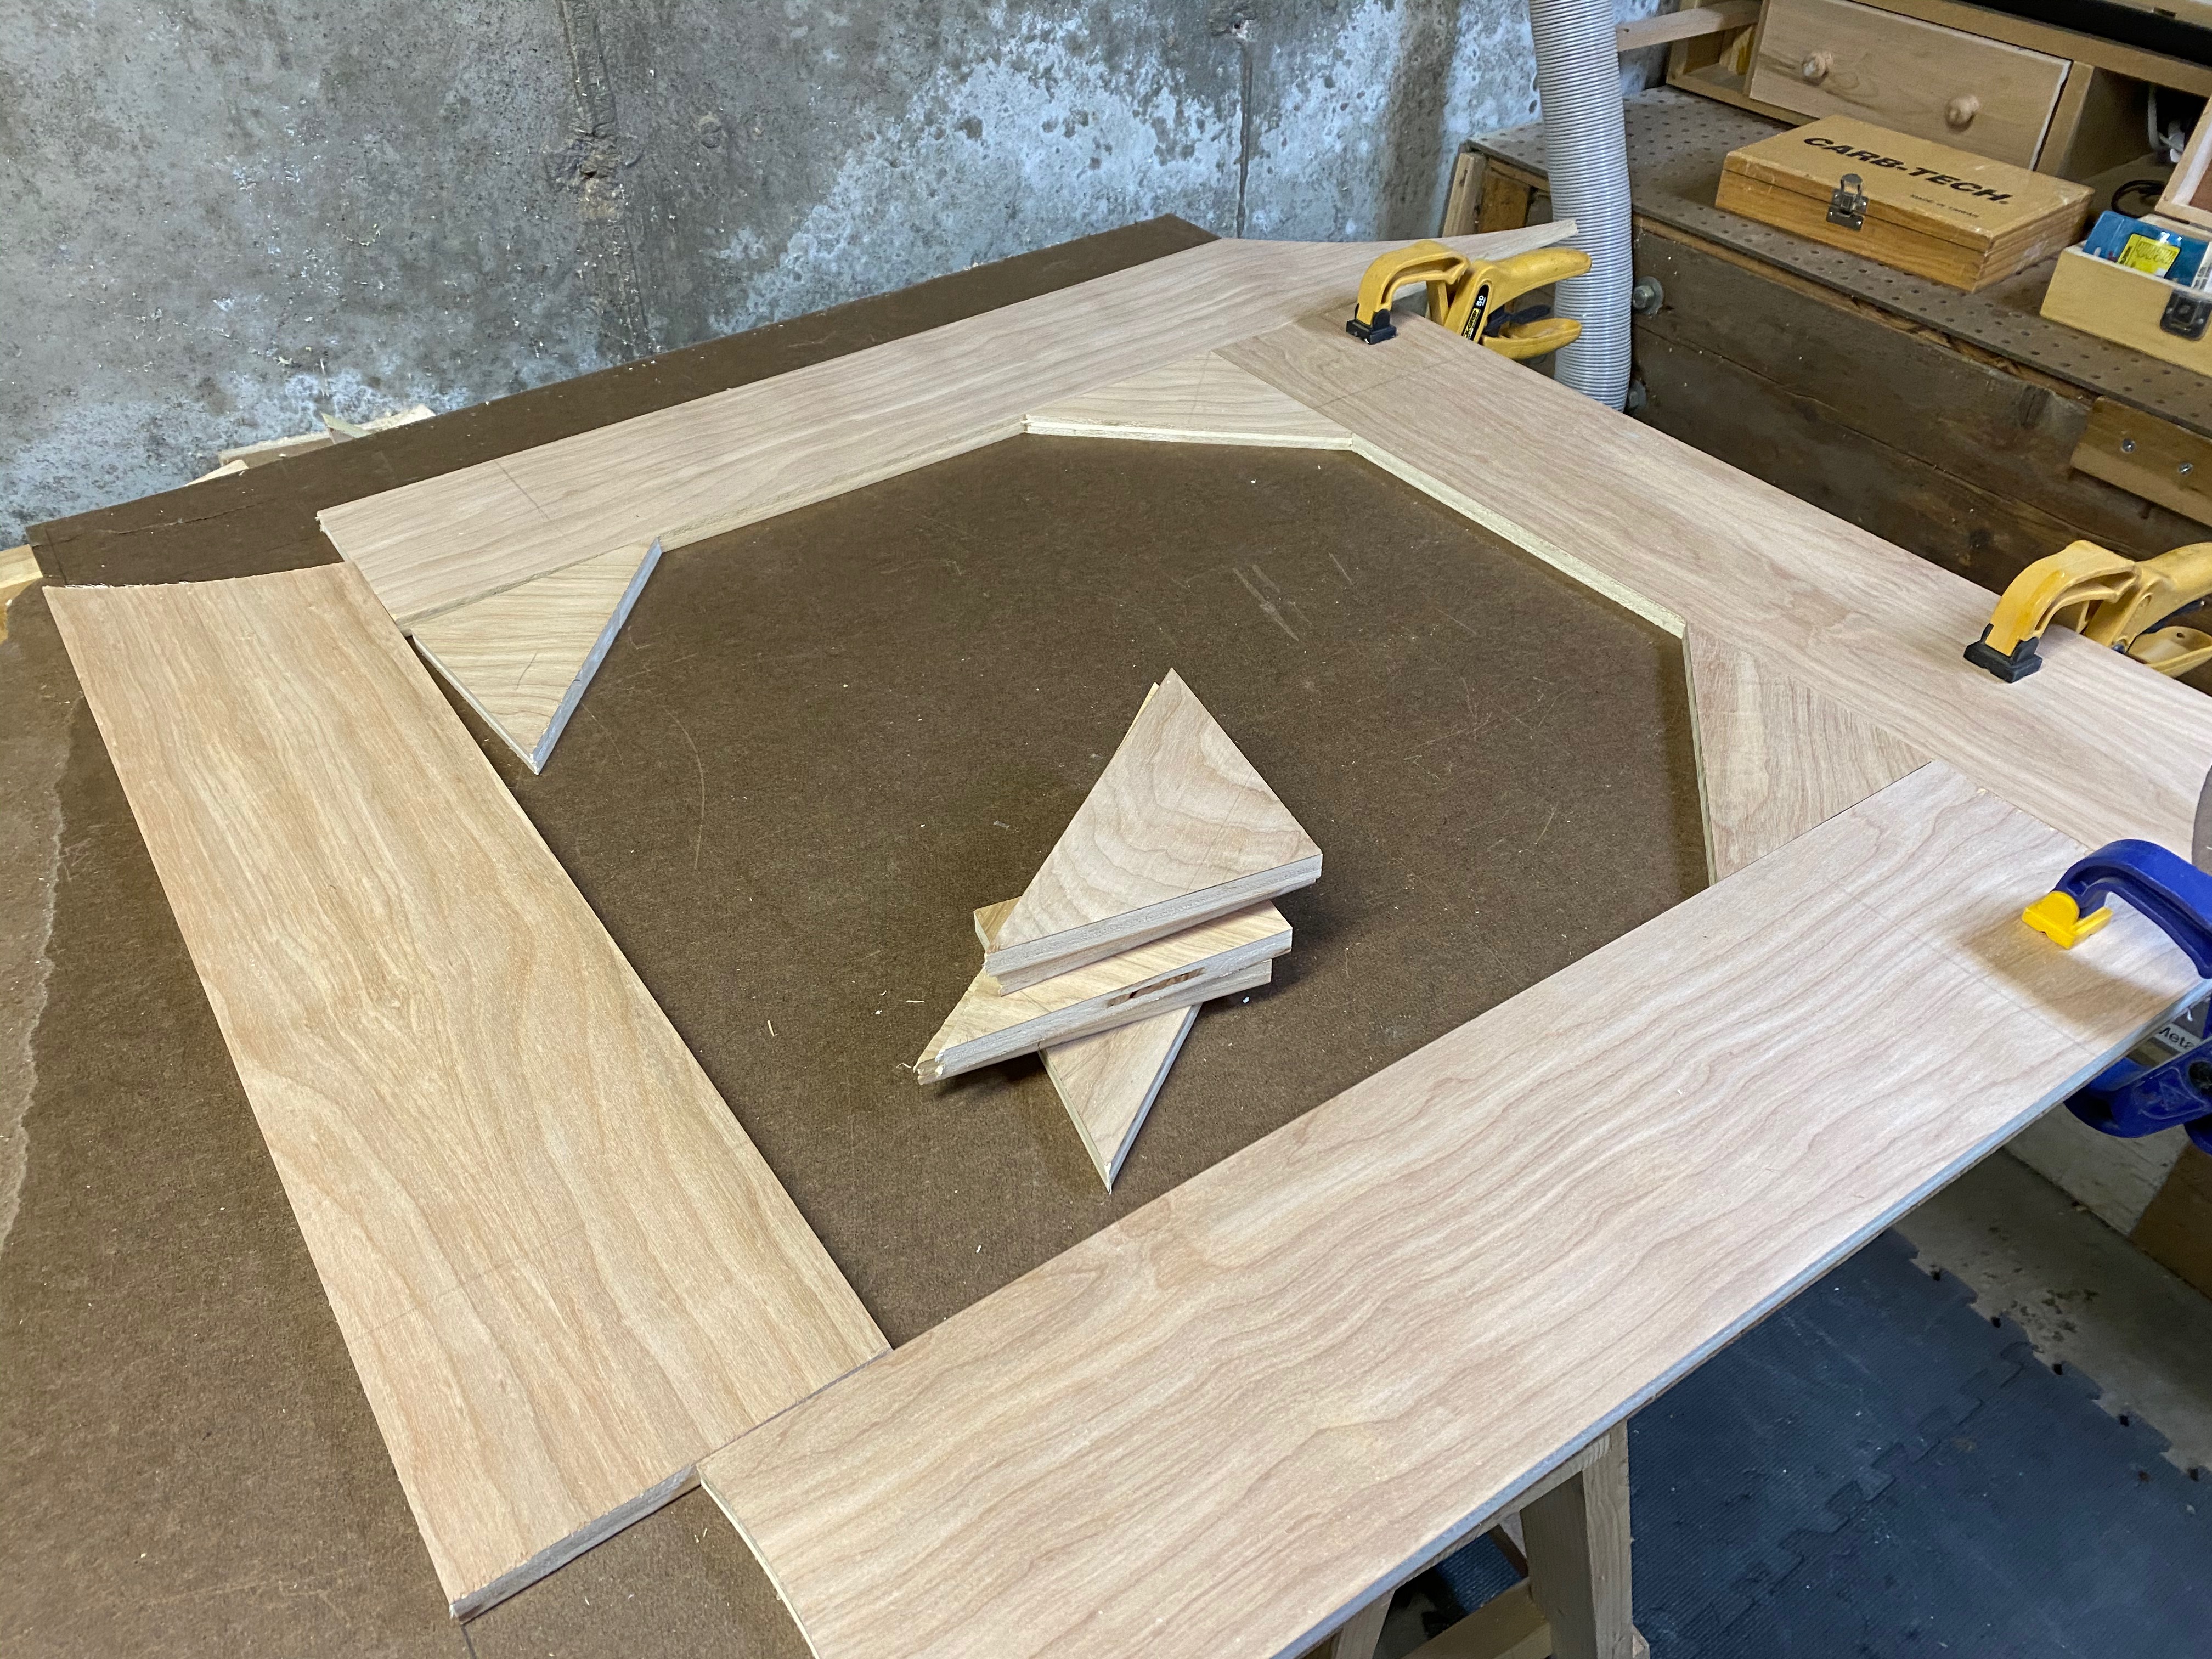
I really liked the Hilinski method using a 1/2 sheet of 1/2” plywood. From that 1/2 sheet you can get two playing surfaces, and using the cutoffs make up the base/ditch. This was just an amazing layout and planning job with hardly anything wasted. Even better, it would provide me two Crokinole boards! Here’s a rough cutout diagram for the 1/2 sheet of plywood. I used maple.

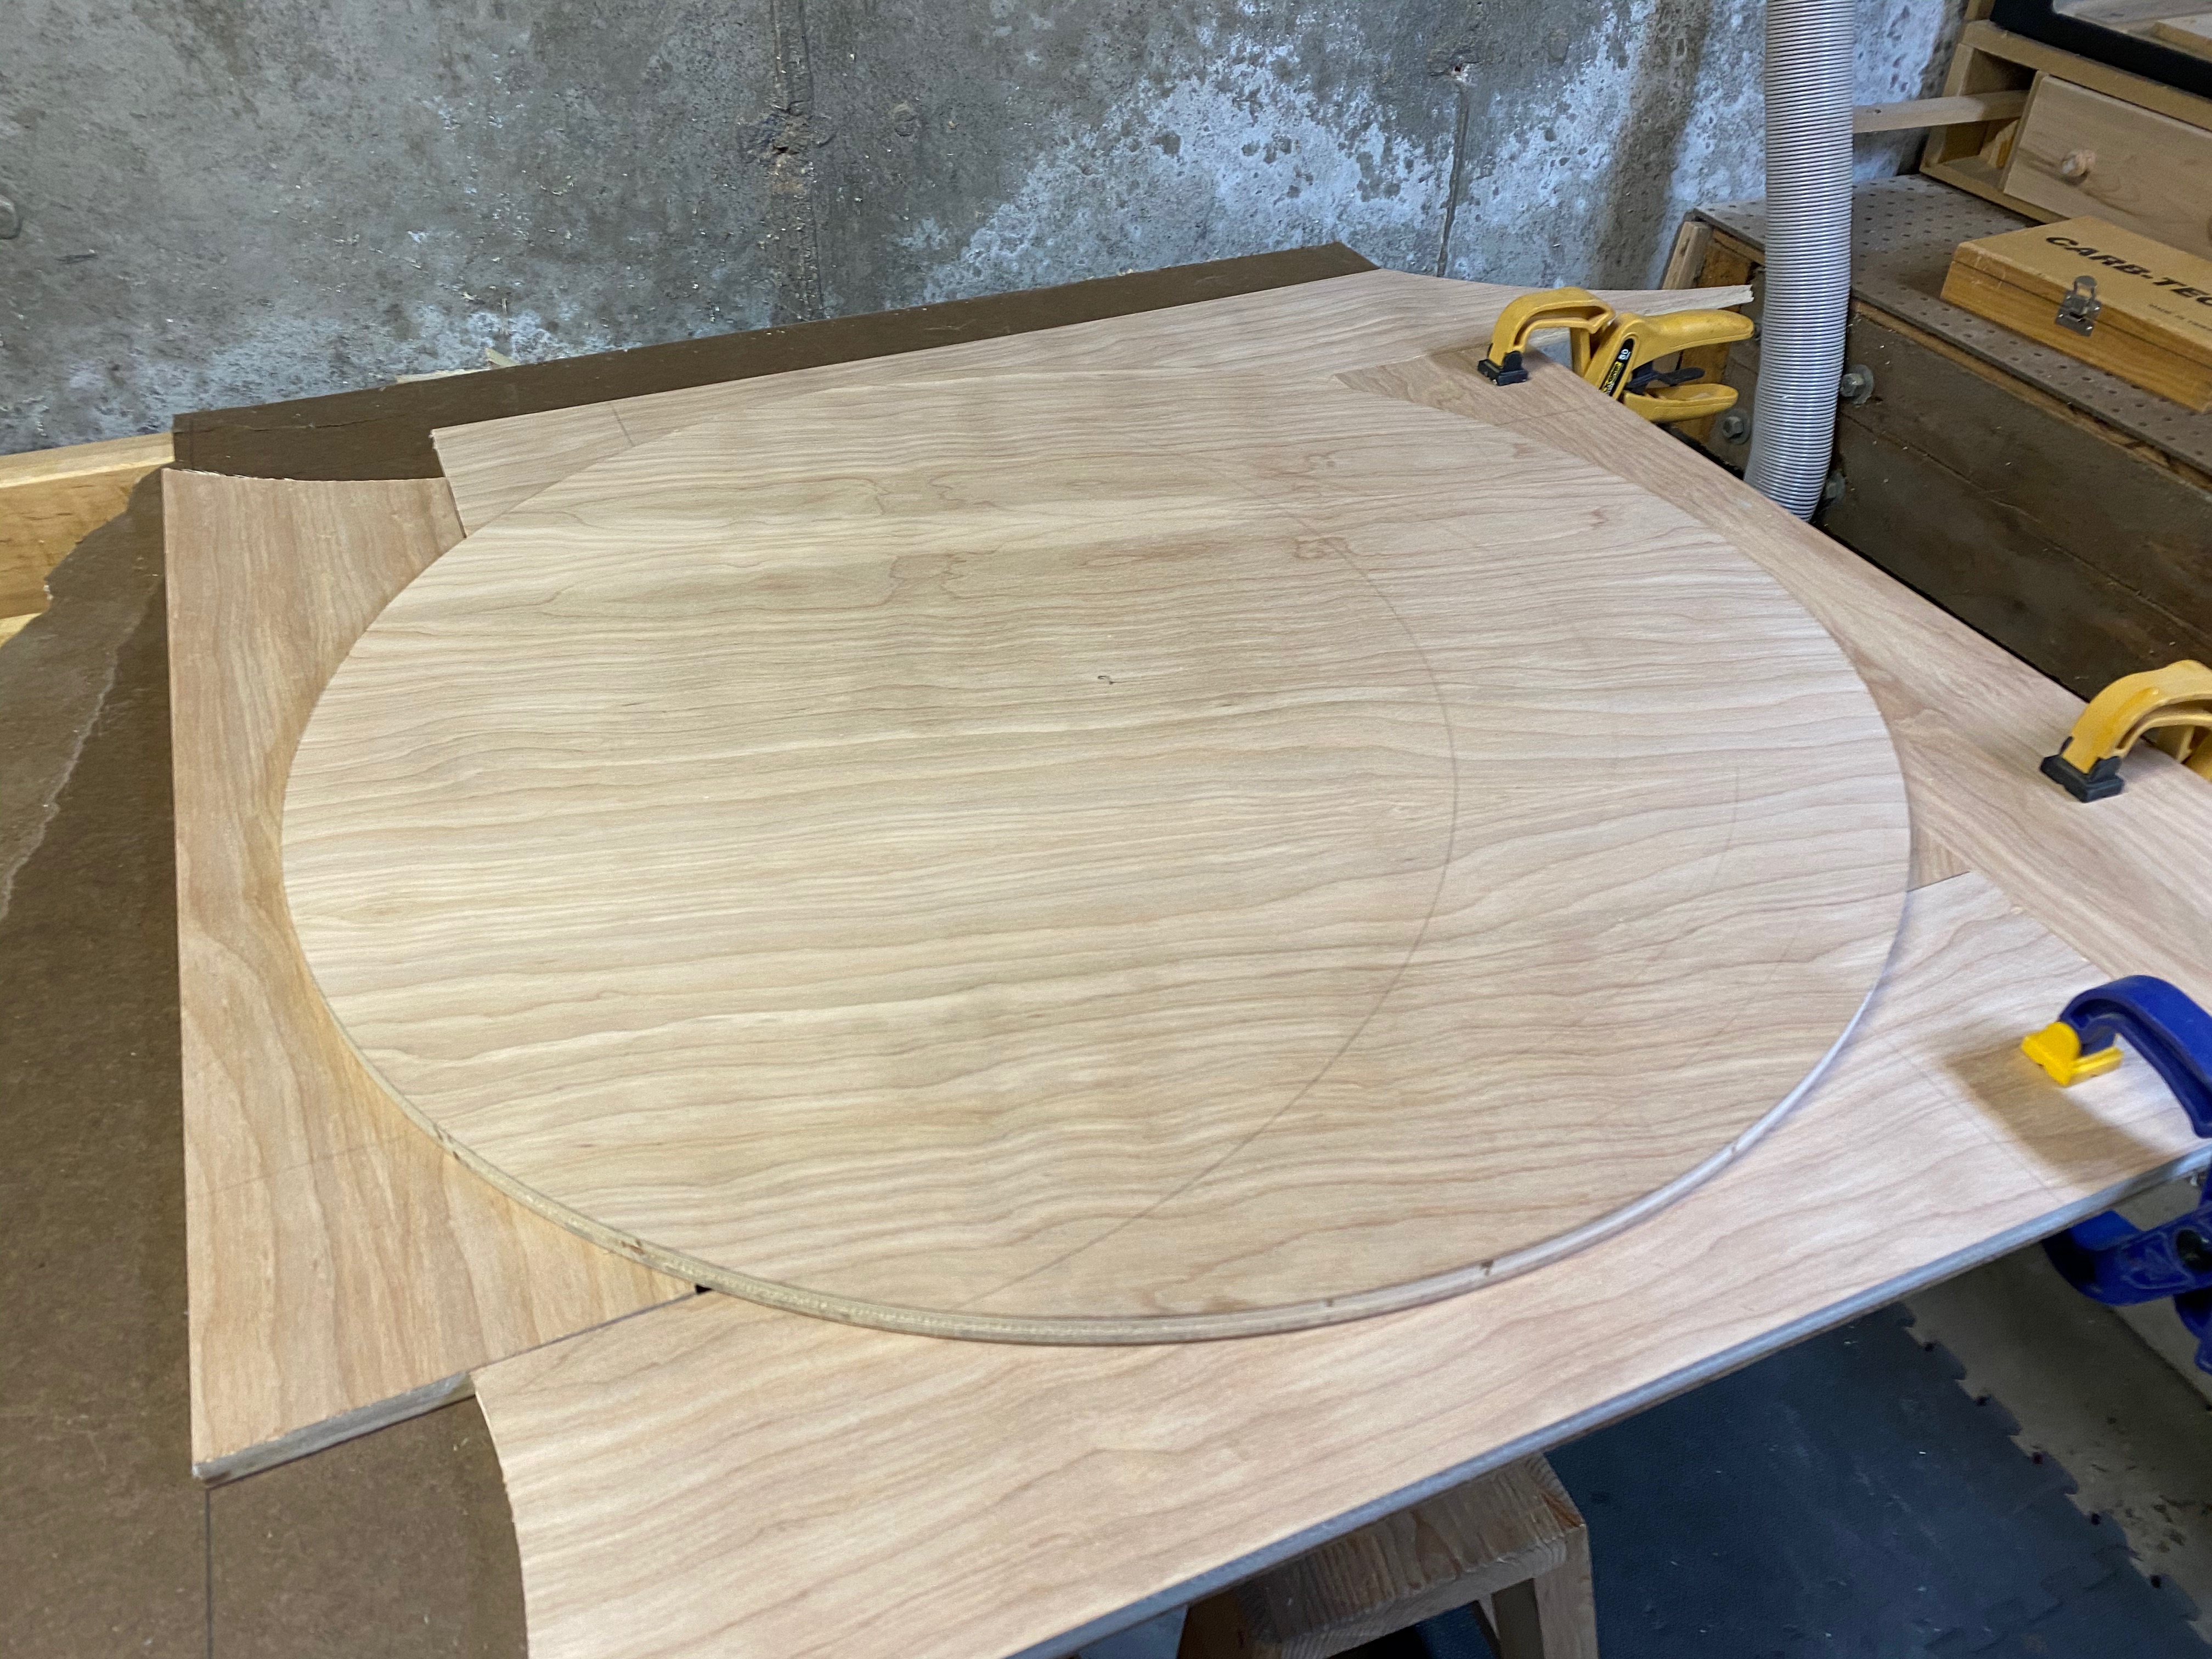
I used my small router to cut out the two playing surfaces, using a simple “nail through a piece of wood in the center” trick. I could have used a jig saw if I actually had one and then cleaned it up on the band saw. The router however, left a nice finished edge, so no additional work needed.
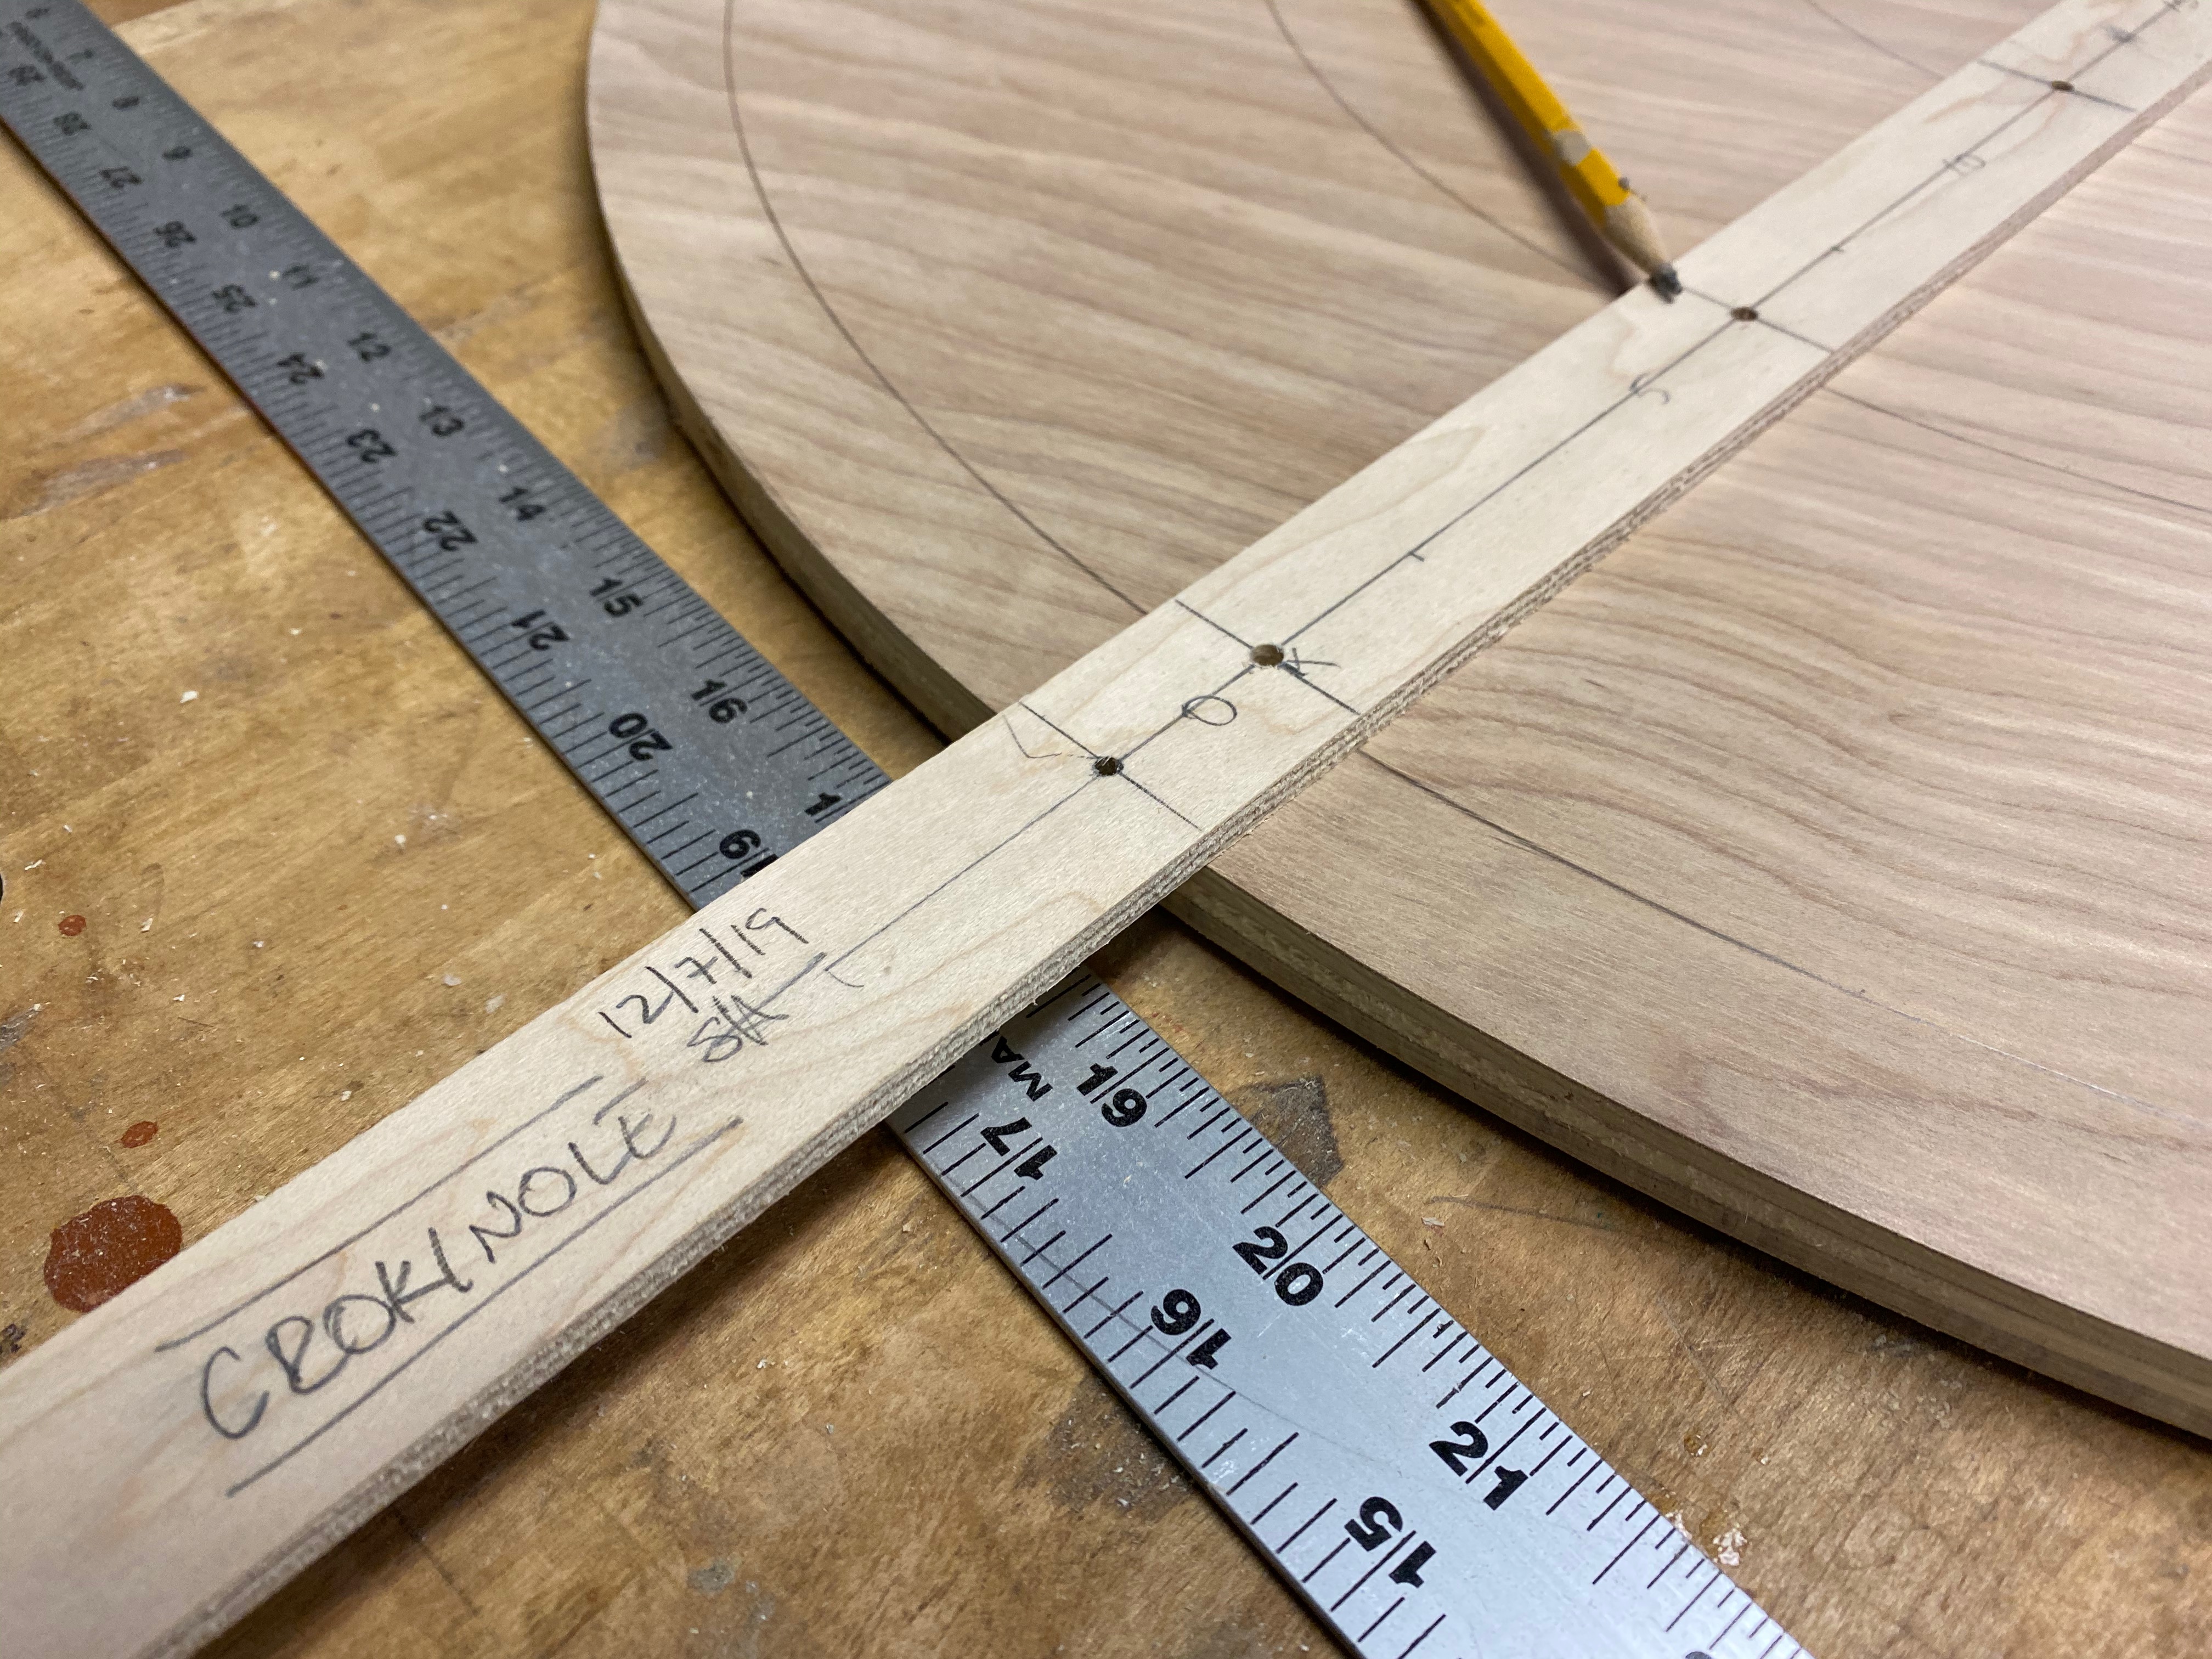
After cutting out the playing surface and assembling the base from the cutoffs, I used a wooden story stick to mark out the 15, 10, 5, and 0 circles as a sanity check. Measure twice cut once. Then, using the same stick, but this time with my small router attached, I cut 1/16” wide 1/8” deep groves. Into these grooves I glued some very thin black walnut. It was tricky and kept breaking on me, but eventually it all went in. Mostly. More on that during the finishing steps later on.
With everything marked out and inlaid, I put some effort into some early finishing steps. Mostly so that when I glued things together the glue wouldn’t stick where I didn’t want it.
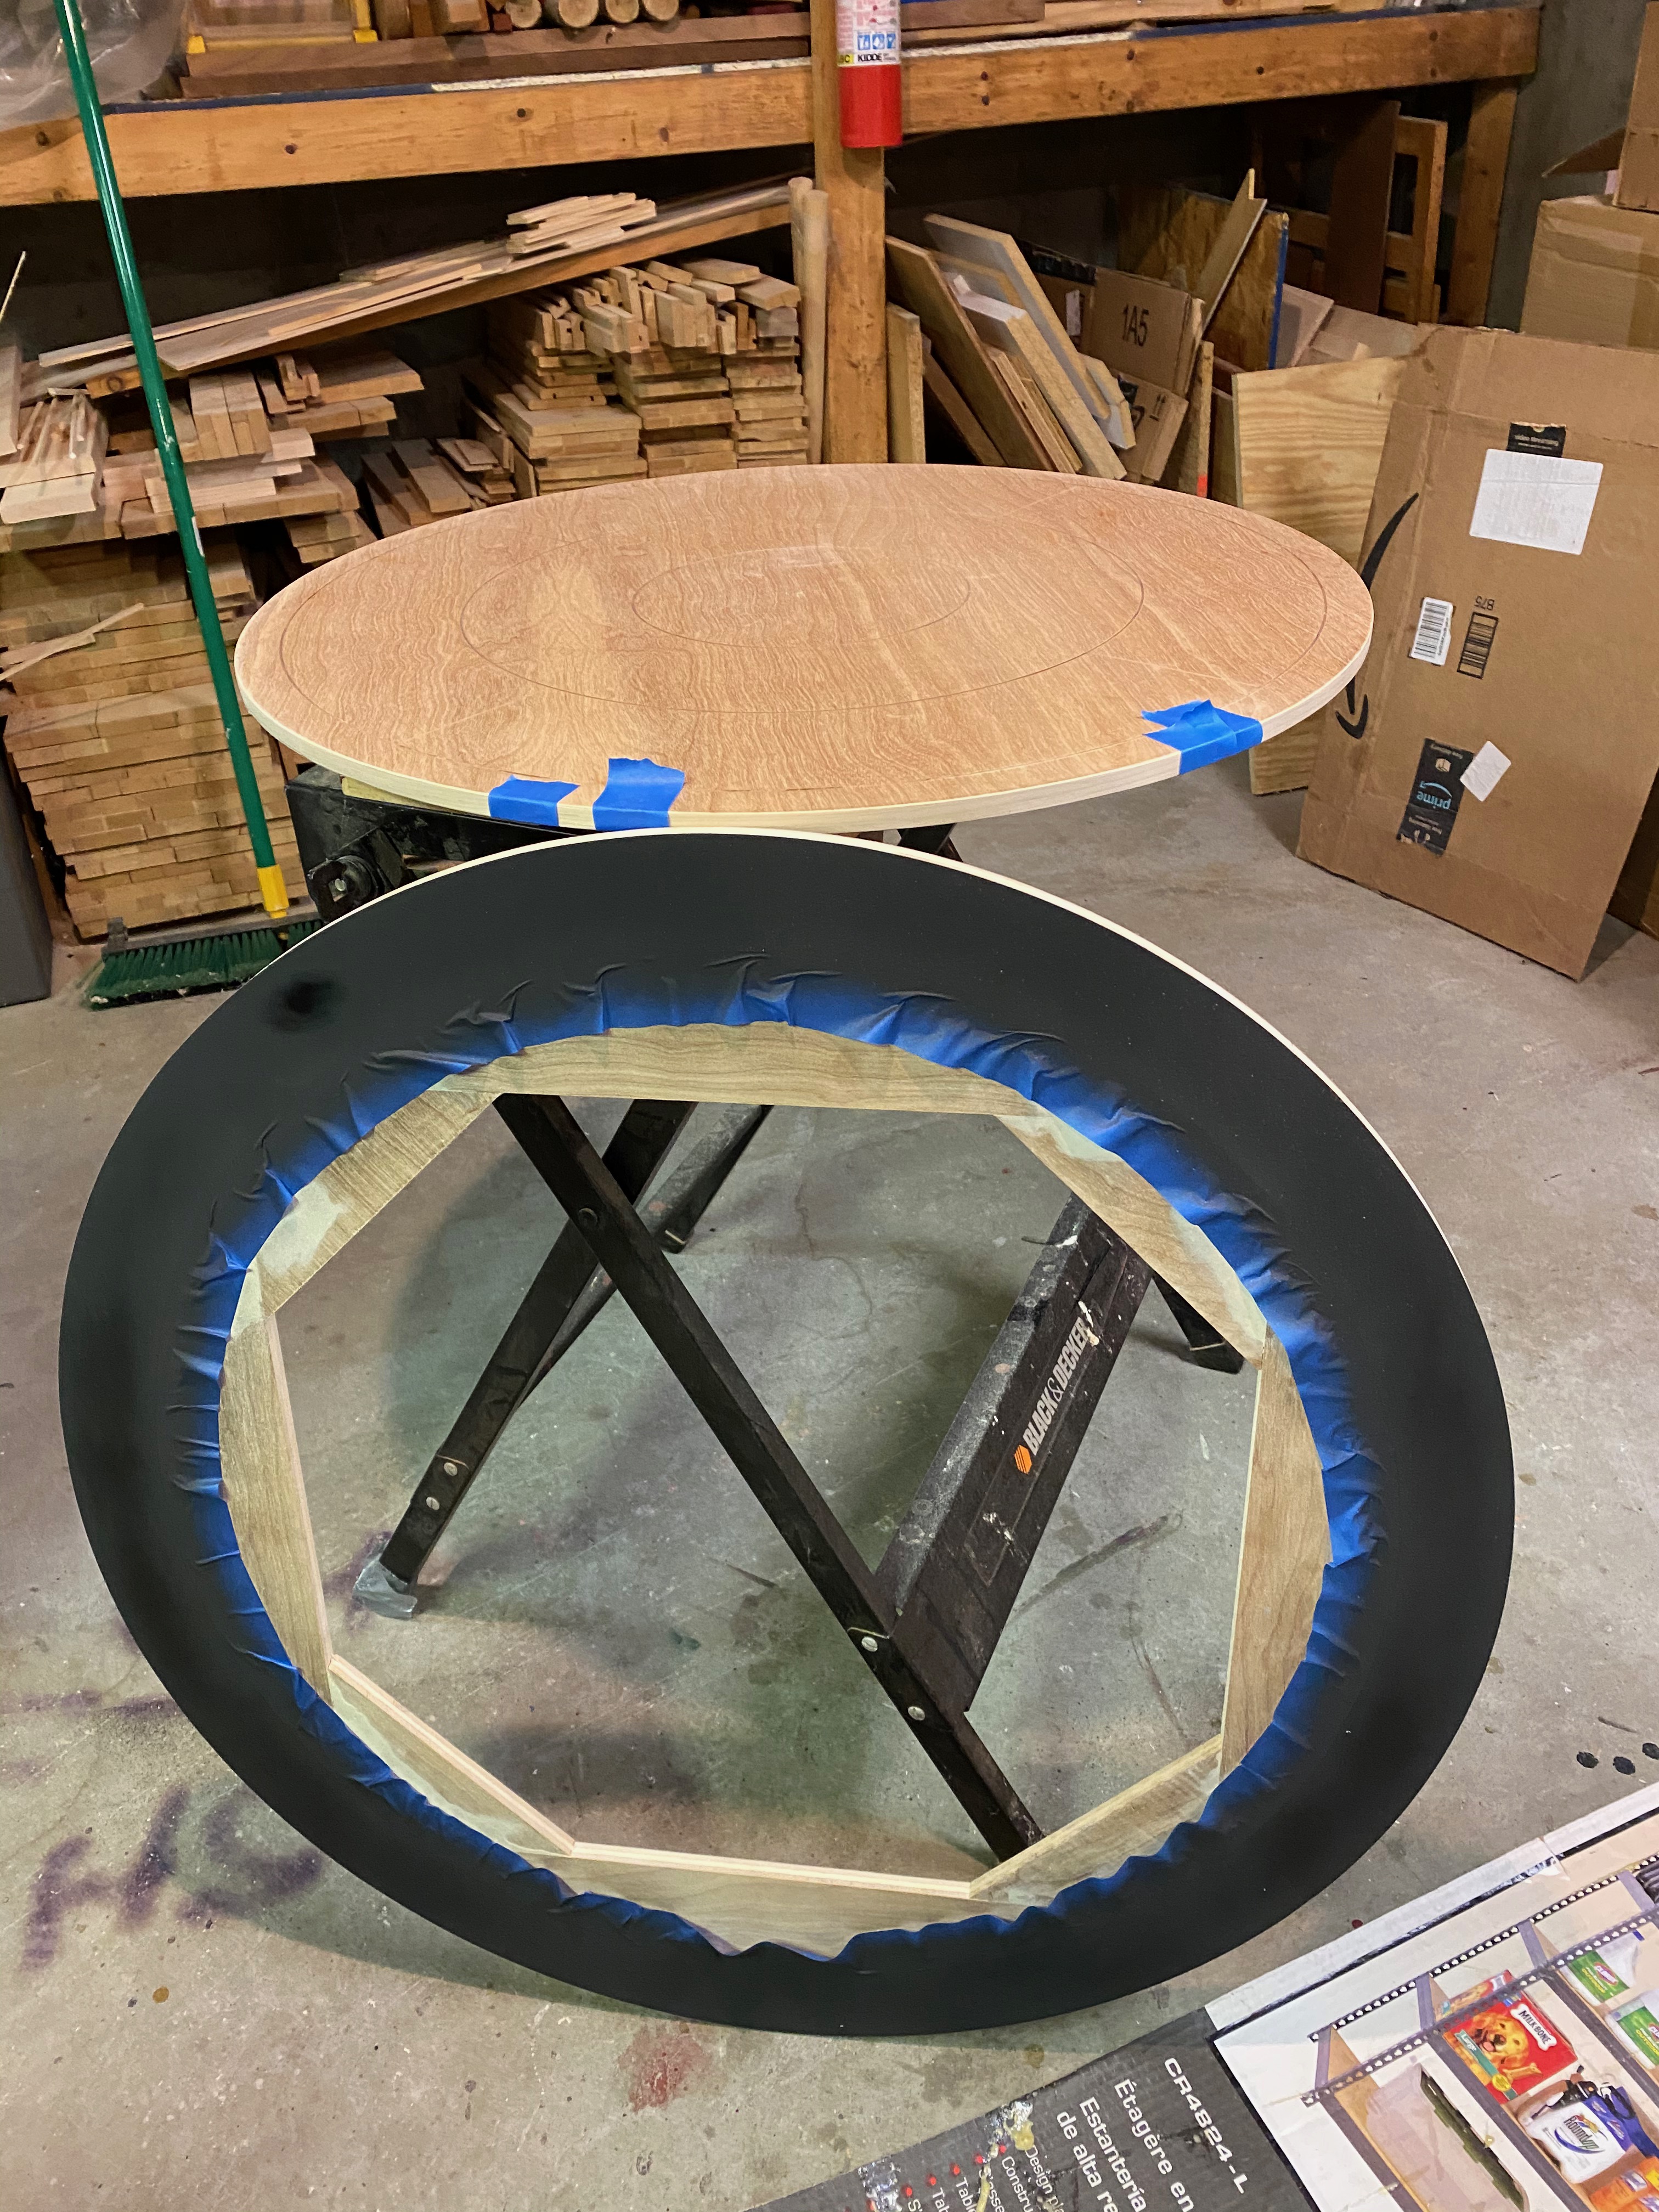
Then came the rim glued onto the base. I cut and re-sawed an 8’ x 2” x 3/4” maple board into 8’ x 1 1/2 x 1/8” strips, two strips for each rim. These went on easy enough with glue and some 1/2” brads for the inside strip. An attentive mathematician will see that 8’ is about 1/4” short of the outer strip’s circumference. To make up this small chunk, I used the little bit of leftover from the inside strip which is about 1” too long. After the glue set, I evened everything up with a plane and sandpaper.
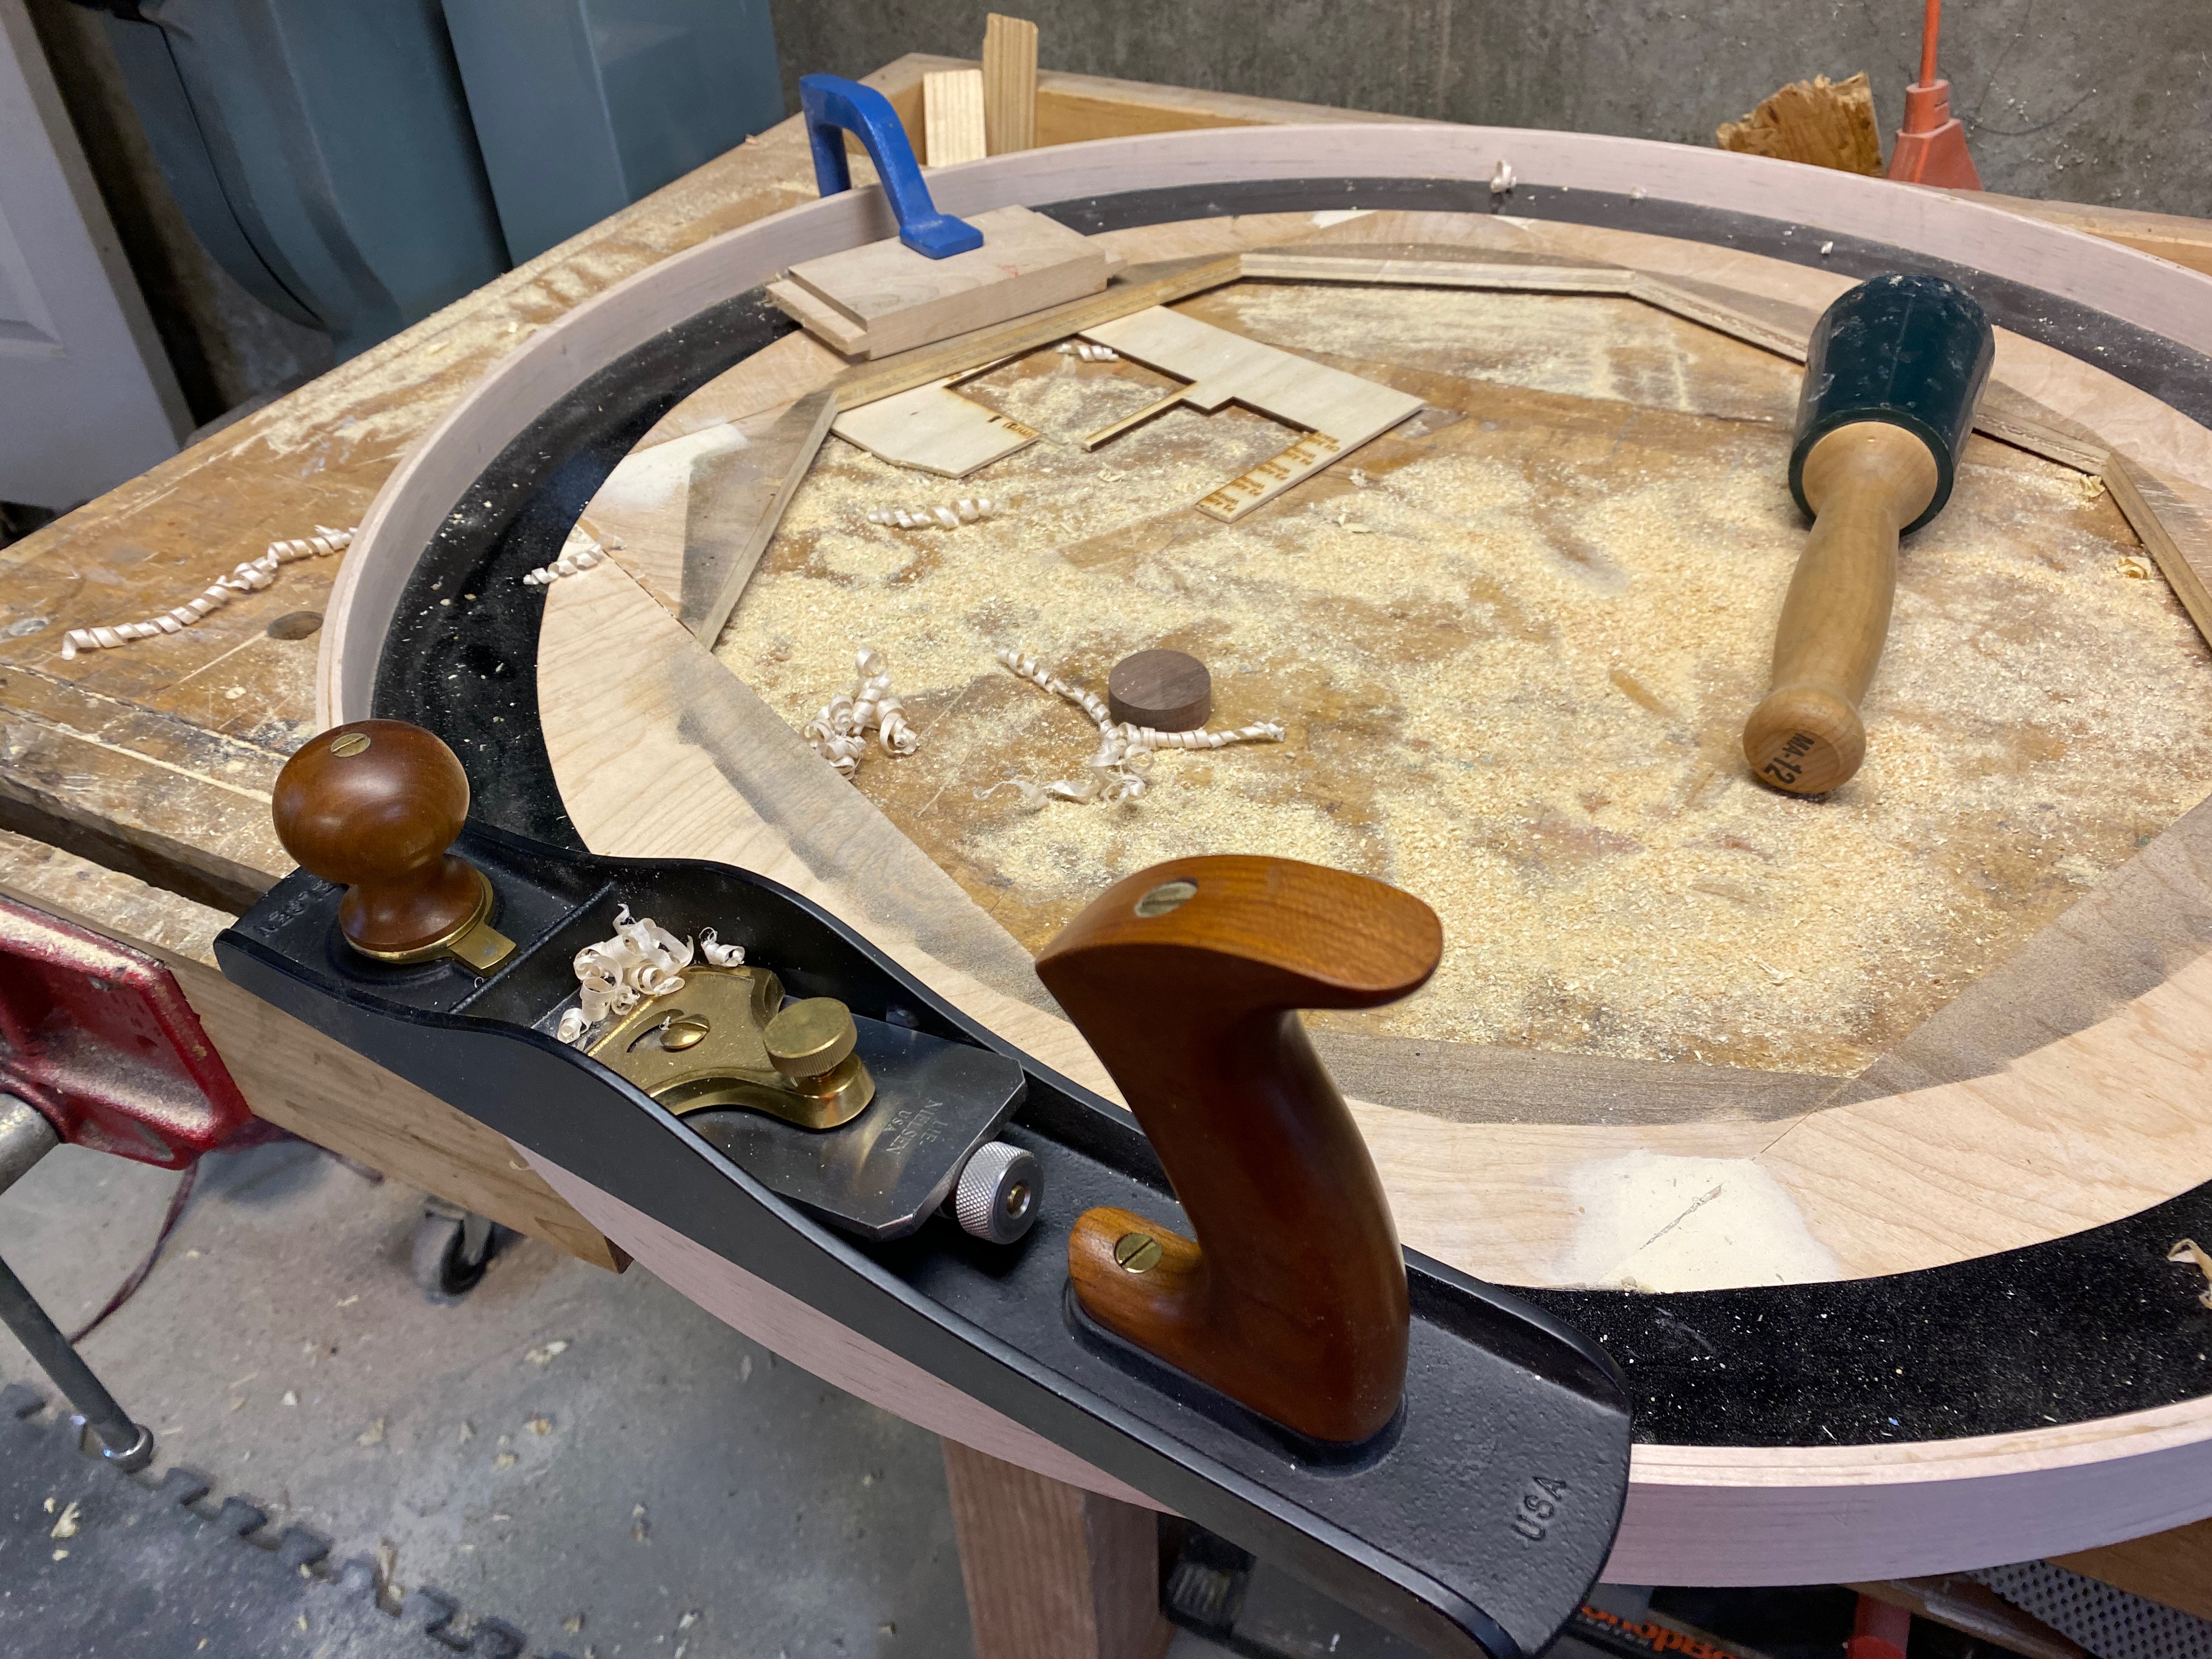
With the rim complete I could glue the playing surface in the middle. Again, using most of my clamps to keep all the edges in place, it was mostly a waiting game and a prelude to finishing.
The pegs were turned on the lathe from more scrap black walnut. They started out being a real pain as I kept breaking the thin diameter pins that would go into the playing surface. I ended up turning two at a time and then sawing them in half. This worked out well and I was able to make a few extras along the way. The second board I plan to use the brass screws with rubber bumpers as the World Crokinole Championship Tournament boards do. I just need to find the dimensions of them!
The 20 hole is another black walnut part, turned to diameter on the lathe and sanded to a nice fit, then mounted on a 8” diameter disc and screwed to the bottom. This way I could remove the 20 hole and put in a new one, perhaps with a laser etched design or something fancy. NOTE: I did replace with a nice laser etched peice of walnut with my initials and “2020” since writing this.
Finishing
This is the part that took the longest. There are a few reasons why; (1) I wanted an ultra-smooth finish and (2) my shop is only about 60 F so finish takes longer to cure. Add to that, where my inlay did not quite go in correctly I had low spots. These show up as bright shiny spots after you sand the finish to a matte finish. I tried a few methods to fix these, but ultimately just had to apply more coats of polyurethane until I built up enough that I could sand into them.
Then came the 400 grit sandpaper, 600 grit, 1000 grit, and polishing. Then a few coats of paste wax followed by a few coats of carnauba wax (from my car wax supply). I did manage to break off one of the pegs while doing this with them installed (bonehead move). Fortunately I had made a few extra, so swapped it out.
The End
For the moment, I’m just using discs from Crokinole Depot. I haven’t figured out how I’d make them properly, with one side concave and the other convex and rounded edges. Every process I’ve seen looks a little to risky/scary for me – I’m an overly safety conscious power-tool user. In looking at the ones from Crokinole Depot, they seem to have just a tiny dimple on the “convex” side, so not really convex, just a manufacturing artifact. Regardless, these discs are working wonderfully. So much so, I ordered more colors!
In the end, it was a fun project and we’ve played a handful of games on it. The surface is much slicker than the back of those old Carrom boards my father has!